腾讯云搭建Hexo博客
一、更新git
1.卸载原有git
yum remove git
2.启用Wandisco GIT存储库
在此之前我们先写入新yum存储库配置文件
vim /etc/yum.repos.d/wandisco-git.repo
插入
[wandisco-git]

name=Wandisco GIT Repository

baseurl=http://opensource.wandisco.com/centos/7/git/$basearch/

enabled=1

gpgcheck=1

gpgkey=http://opensource.wandisco.com/RPM-GPG-KEY-WANdisco
3.导入存储库GPG密钥
sudo rpm --import http://opensource.wandisco.com/RPM-GPG-KEY-WANdisco
4.安装git
yum install git
5.添加git用户
adduser git

passwd git

chmod 740 /etc/sudoers

vim /etc/sudoers

----------------------------------------------------------------

#在下面增加

## Allow root to run any commands anywhere

root    ALL=(ALL)       ALL

git     ALL=(ALL)       ALL

-------------------------------------------------------------------

:wq

#改回权限

chmod 400 /etc/sudoers
我用的是windows作为开发端 懒得输密码 用秘钥登录
下面是配置秘钥步骤
#windows安装git

#步骤略

#一路下一步


#打开git bash

#添加全局用户信息

git config --global user.name "用户名"

git config --global user.email "邮箱"


cd ~/.ssh

ssh-keygen -t rsa -C "username"


#回到服务器

su git

mkdir ~/.ssh

vim ~/.ssh/authorized_keys

#把本地id_rsa.pub的内容粘贴进去

cd ~

chmod 600 .ssh/authorized_keys

chmod 700 .ssh

#在本地 Windows 上,使用 Git Bash 测试是否能连接上服务器。

ssh -v git@SERVER IP
====================================================================================
二.安装node.js
切换阿里源 可以直接安装node.js
yum install nodejs
三、安装nginx
1.安装
yum install nginx
2.检查nginx版本
nginx -v
3.启动nginx
nginx基本命令
#启动

systemctl start nginx

#停止nginx

systemctl stop nginx

#查看nginx状态

systemctl status nginx

#重新载入nginx

systemctl reload nginx

#允许nginx 开机启动

systemctl enable nginx

#禁止开机启动

systemctl disable nginx

#查看服务是否开机启动

systemctl is-enabled nginx;echo $?

#查看已启动的服务

systemctl list-unit-files|grep enabled

#查看nginx配置文件位置(检查nginx配置文件)

nginx -t
浏览器输入服务器ip 我服务器系统是Centos7 会获得如下图

4.修改Nginx配置文件
4.1 创建网站根目录
su root

#目录根据自己需求自行创建

mkdir /home/hexo

#授权

chown git:git -R /home/hexo
4.2 修改Nginx配置文件
vim/etc/nginx/nginx.conf
找到对应位置直接修改为
    server {

        listen       80 default_server;

        listen       [::]:80 default_server;

        server_name  你的域名.com;

        root         /home/hexo; #上面创建的网站根目录


        # Load configuration files for the default server block.

        include /etc/nginx/default.d/*.conf;


        location / {

        }


        error_page 404 /404.html;

        location = /404.html {

        }


        error_page 500 502 503 504 /50x.html;

        location = /50x.html {

        }

    }
如果已申请证书使用https 则可以如下配置
我在nginx 目录下 新建了cert目录用来存放证书
mkdir /etc/nginx/cert
    server {

        listen       80;

        server_name  你的域名.com;

        rewrite ^(.*)$ https://$host$1 permanent; #将http重定向到https 强制走https

        location / {

        }

    }


    #Settings for a TLS enabled server.


    server {

        listen       443 ssl http2 default_server;

        listen       [::]:443 ssl http2 default_server;

        server_name  你的域名.com;

        root         /home/hexo; #你的网站根目录


        ssl_certificate "/etc/nginx/cert/xxxxxxxxx.crt"; #你的证书crt地址

        ssl_certificate_key "/etc/nginx/cert/xxxxxxxxx.key";#你的证书key地址

        ssl_session_cache shared:SSL:1m;

        ssl_session_timeout  10m;

        ssl_ciphers HIGH:!aNULL:!MD5;

        ssl_prefer_server_ciphers on;


        # Load configuration files for the default server block.

        include /etc/nginx/default.d/*.conf;


        location / {

        }


        error_page 404 /404.html;

        location = /404.html {

        }


        error_page 500 502 503 504 /50x.html;

        location = /50x.html {

        }

    }
重启nginx
systemctl restart nginx

#检查nginx服务状态

systemctl status nginx
四、配置git&&安装hexo
1.建立 git 裸库
su root

#创建到git用户目录

cd /home/git

git init --bare blog.git


#授权

chown git:git -R blog.git
2.使用 git-hooks 同步网站根目录
vim blog.git/hooks/post-receive

#插入如下内容(目录为你设置的网站根目录)

#!/bin/sh

git --work-tree=/home/hexo --git-dir=/home/git/blog.git checkout -f


#授予可执行权限

chmod +x /home/git/blog.git/hooks/post-receive
3.本地安装hexo
打开git bash
#创建hexo目录 我建在d盘

cd d:

mkdir hexo

npm install -g hexo-cli

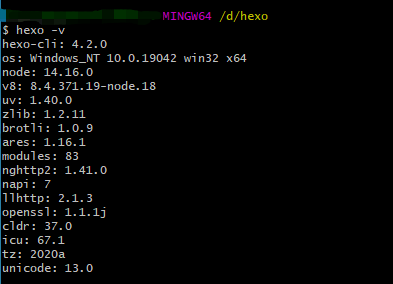
检查hexo版本
hexo -v

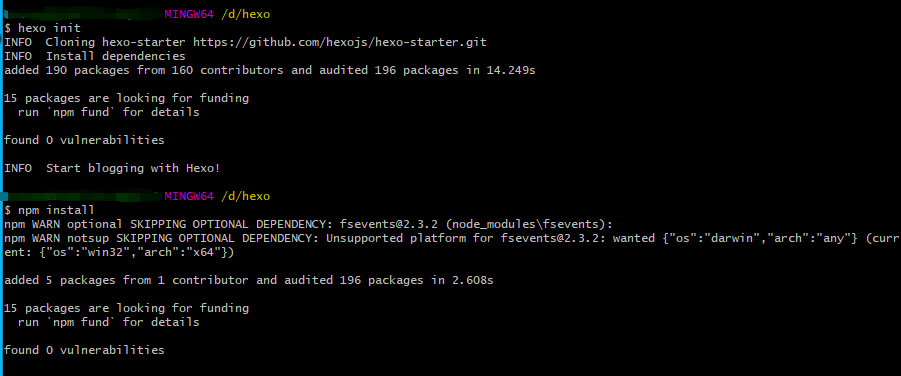
初始化hexo
hexo init

npm install

#安装插件

npm install hexo-deployer-git --save

npm install hexo-server

修改配置文件_config.yml
deploy:

    type: git

    repo: git@SERVER:/home/git/blog.git #SERVER为你的服务器ip

    branch: master
部署
hexo clean && hexo g && hexo d
浏览器输入IP或域名 访问博客
